AVS HOL LAB8 – Enable Public IP for AVS
This step has been performed part of pre-provisioning the lab environment.
However, it is still helpful to understand the steps that has been taken.
After connecting and accessing your AVS lab from a Windows Jumpbox connected to an Azure VNET the next logical step would be to setup the integration with Virtual WAN, and Azure VMware Solution comes out of the box with a mechanism to easily setup it. The result of this integration is to eventually allow configuring inbound Internet traffic to VMs hosted at AVS Private Cloud.
-
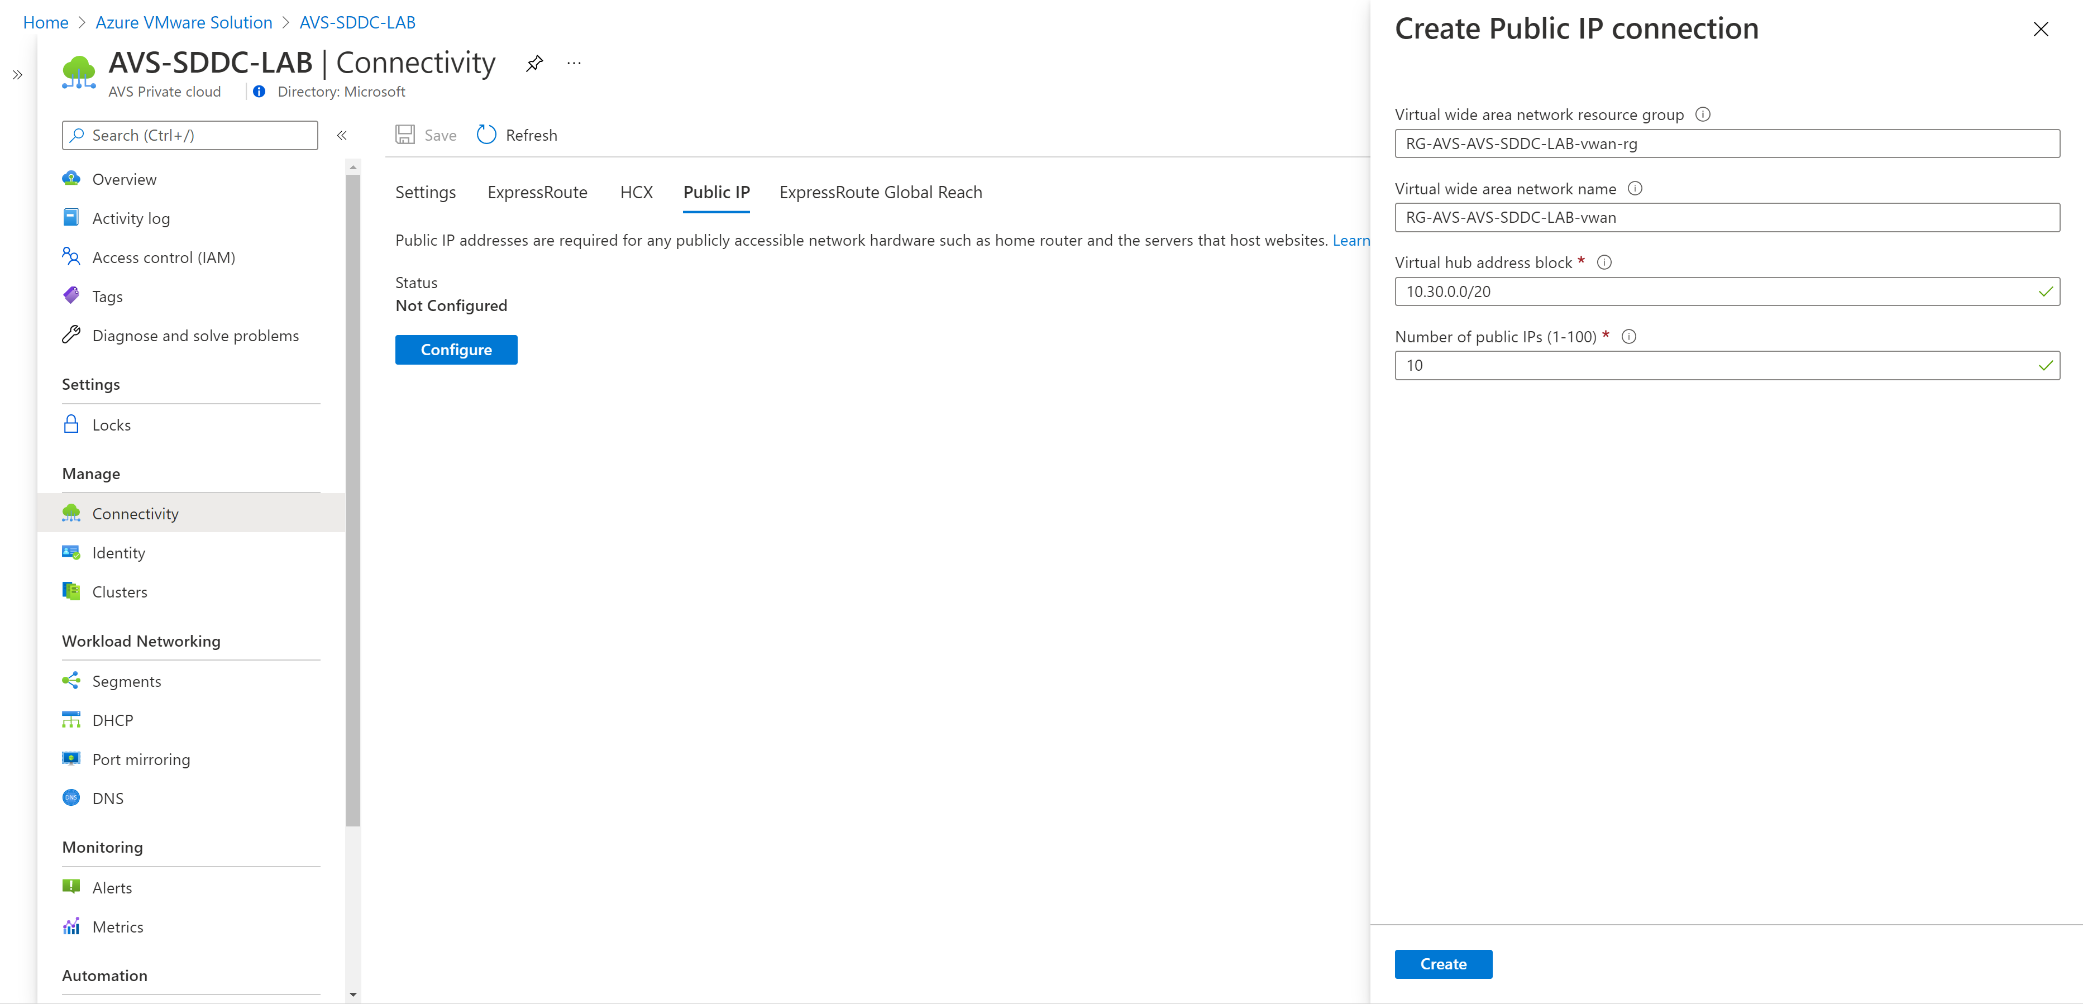
Access AVS from Azure portal and in the Connectivity pane, select the Public IP tab and click on Configure.
-
Enter the address block for the Virtual Hub, make sure this network segment does not overlap with your existing networks, and the number of Public IP addresses, this number goes up to 100. Click on Create.
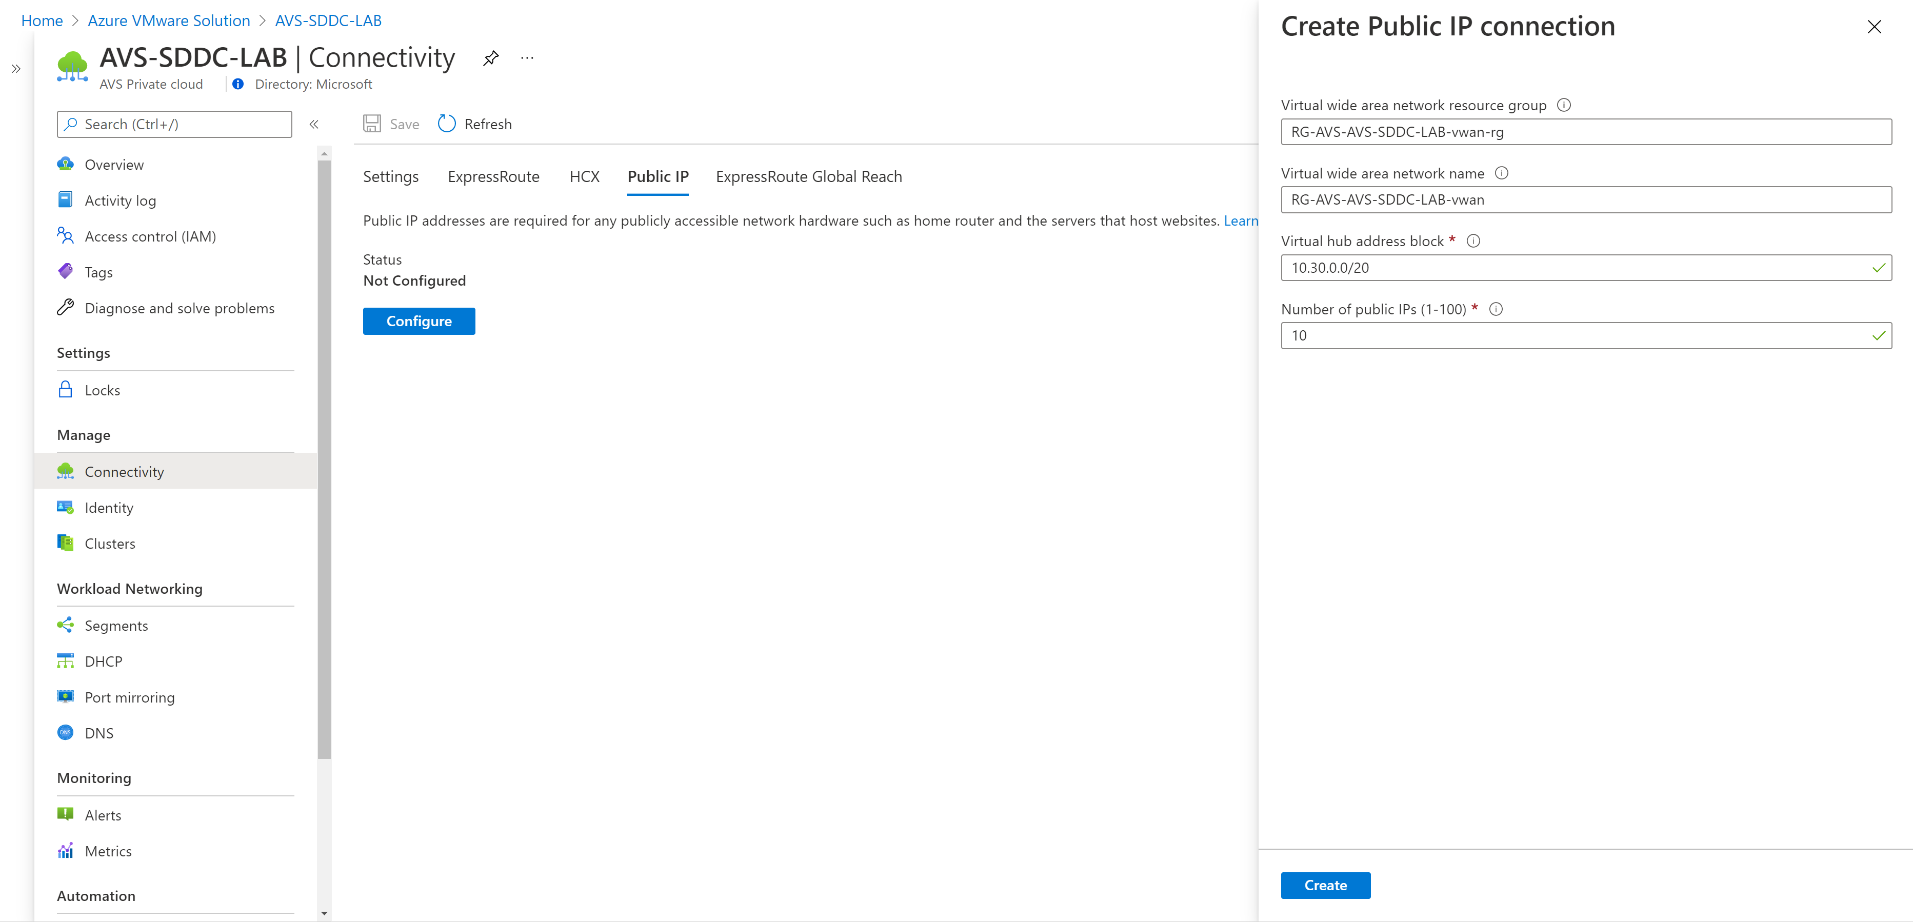
The operation can take up to one hour as you see in the screenshot below. Because it will be deploying other resources such as Azure vWAN and Azure Firewall then configure Express Route Connection.
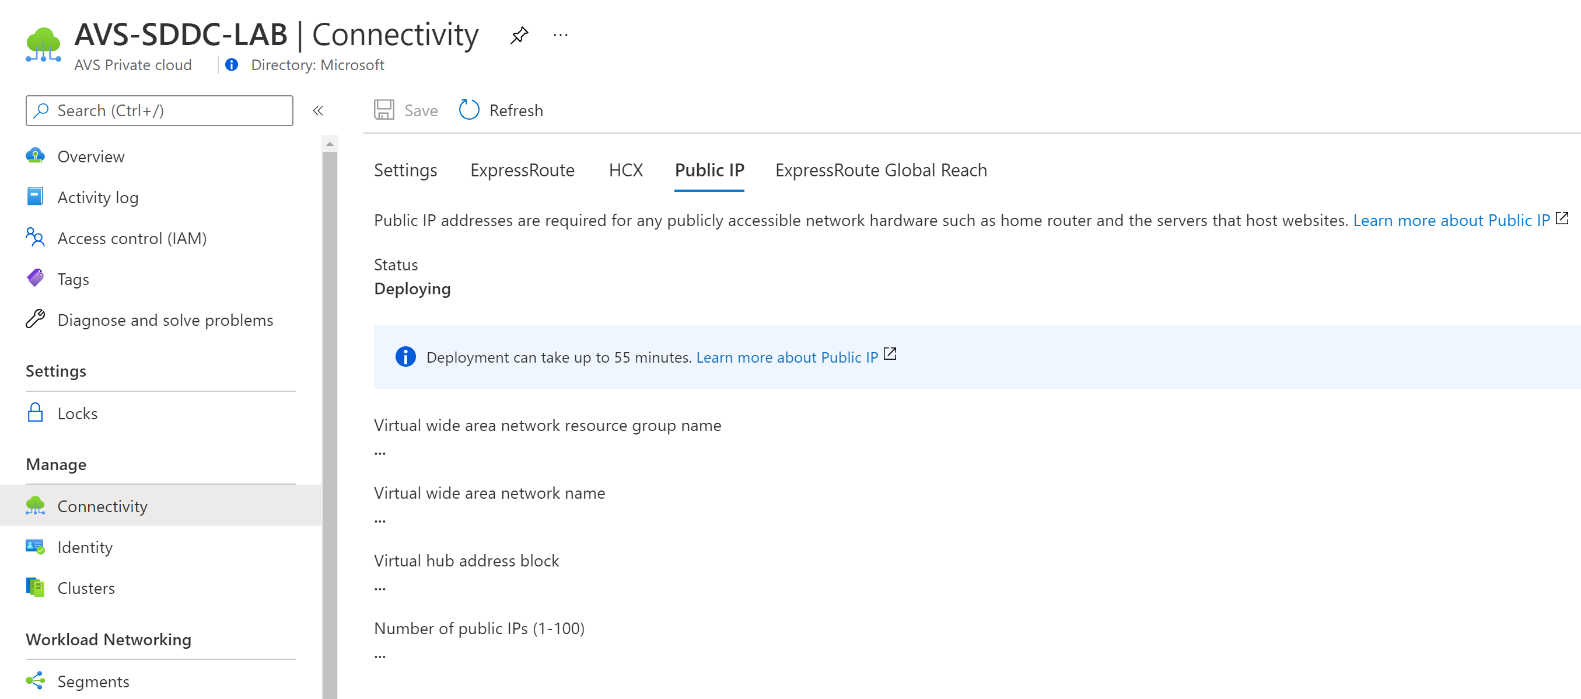
-
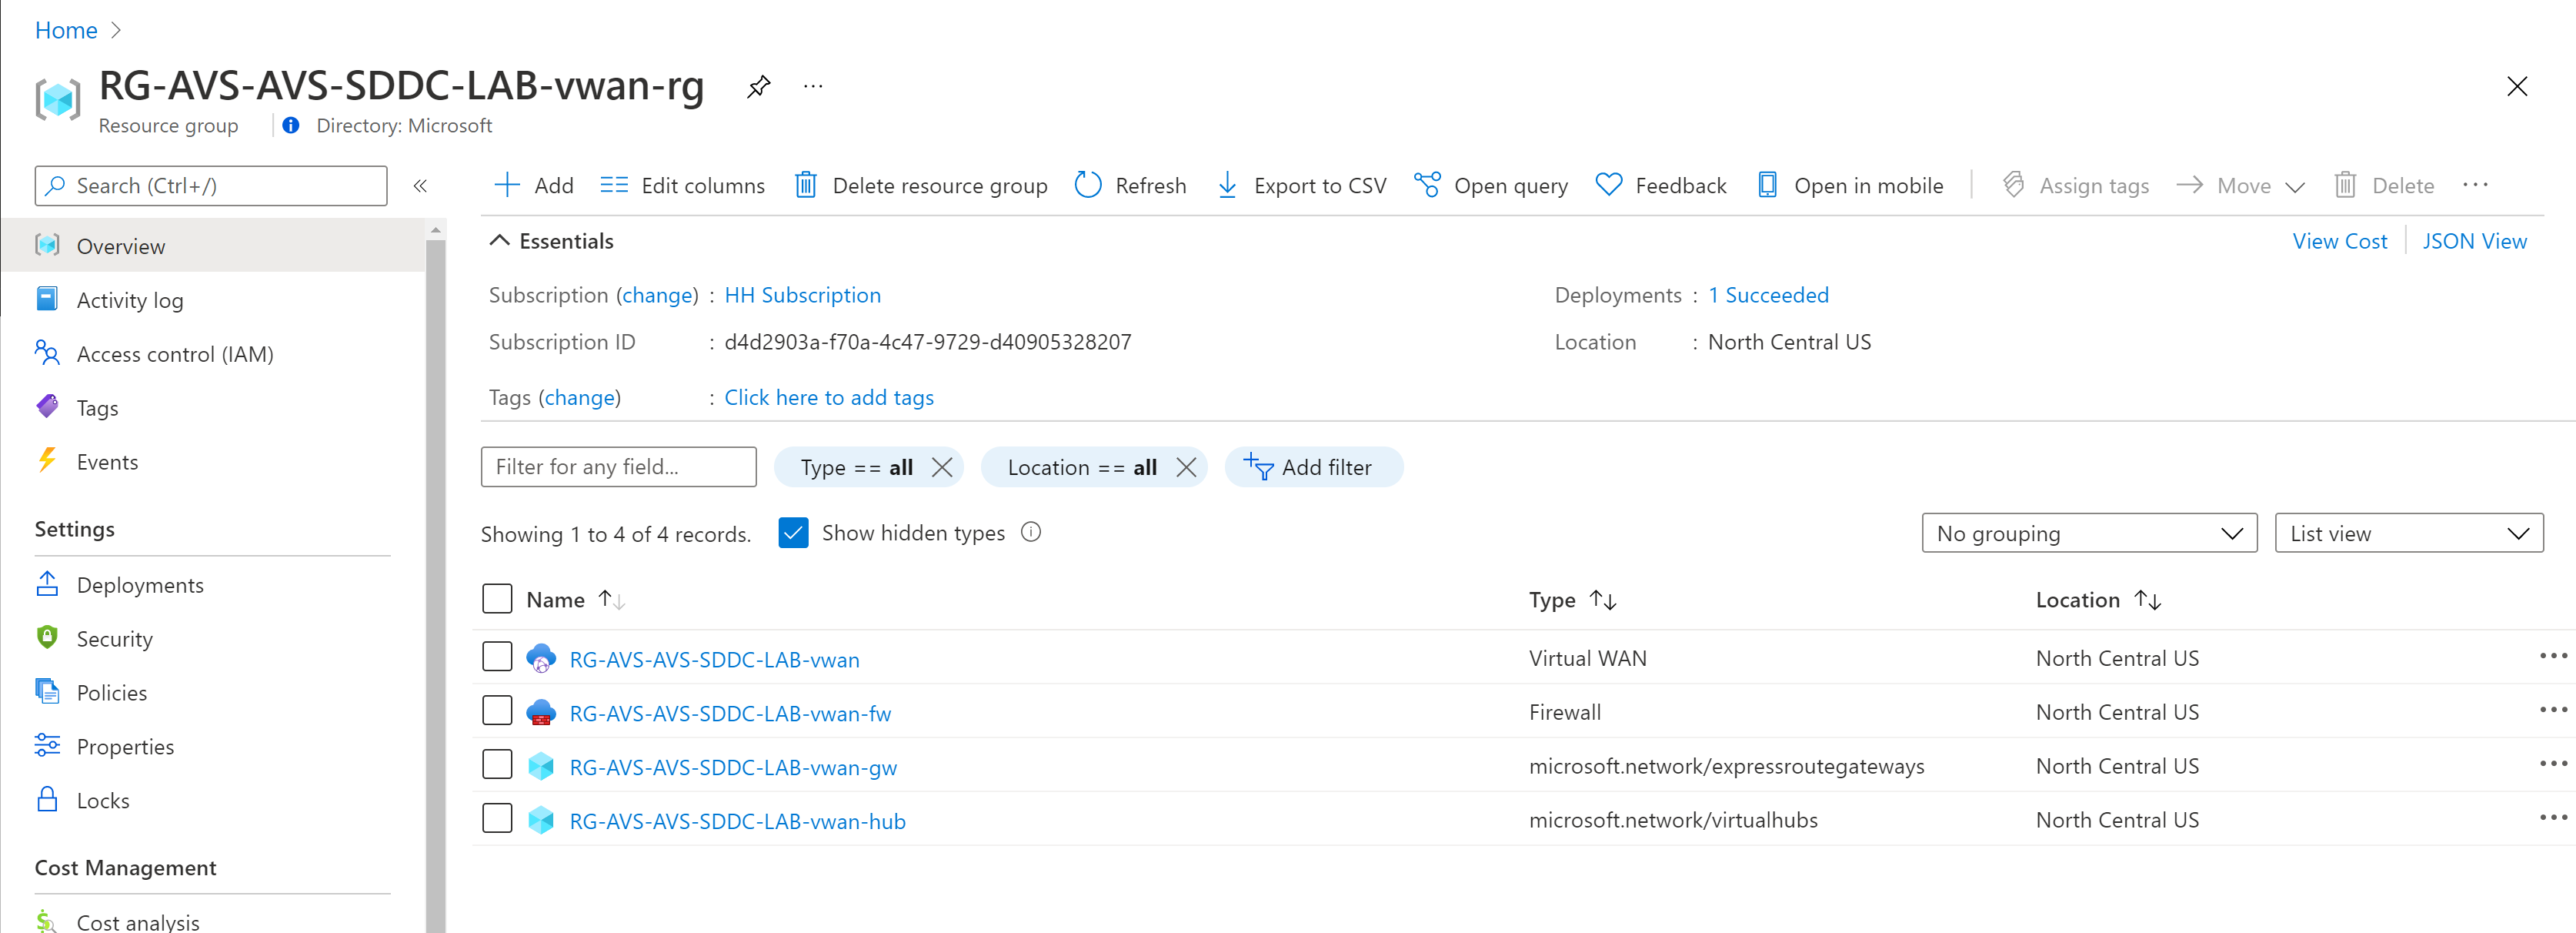
You can monitor the status of the deployment from Azure portal. By default, a new Resource Group will be created part of provisioning Azure vWAN, vWan Hub and Azure Firewall. So, you can go directly to that Resource Group and check the deployment status. The name of that Resource Group will end with “-vwan-rg”.
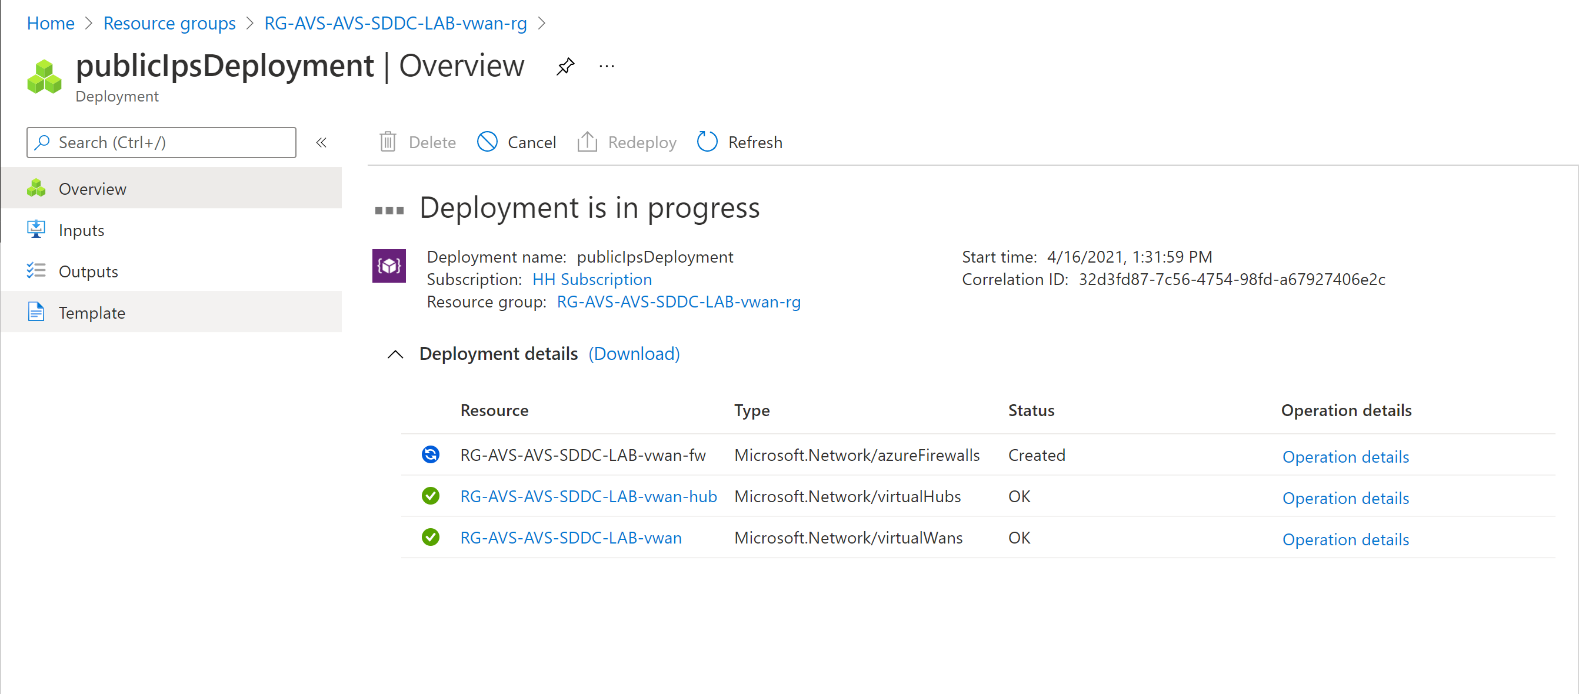
-
Verify status of the provisioned VWAN and VWAN Hub directly from the same Public IP tab in your Private Cloud Connectivity pane.
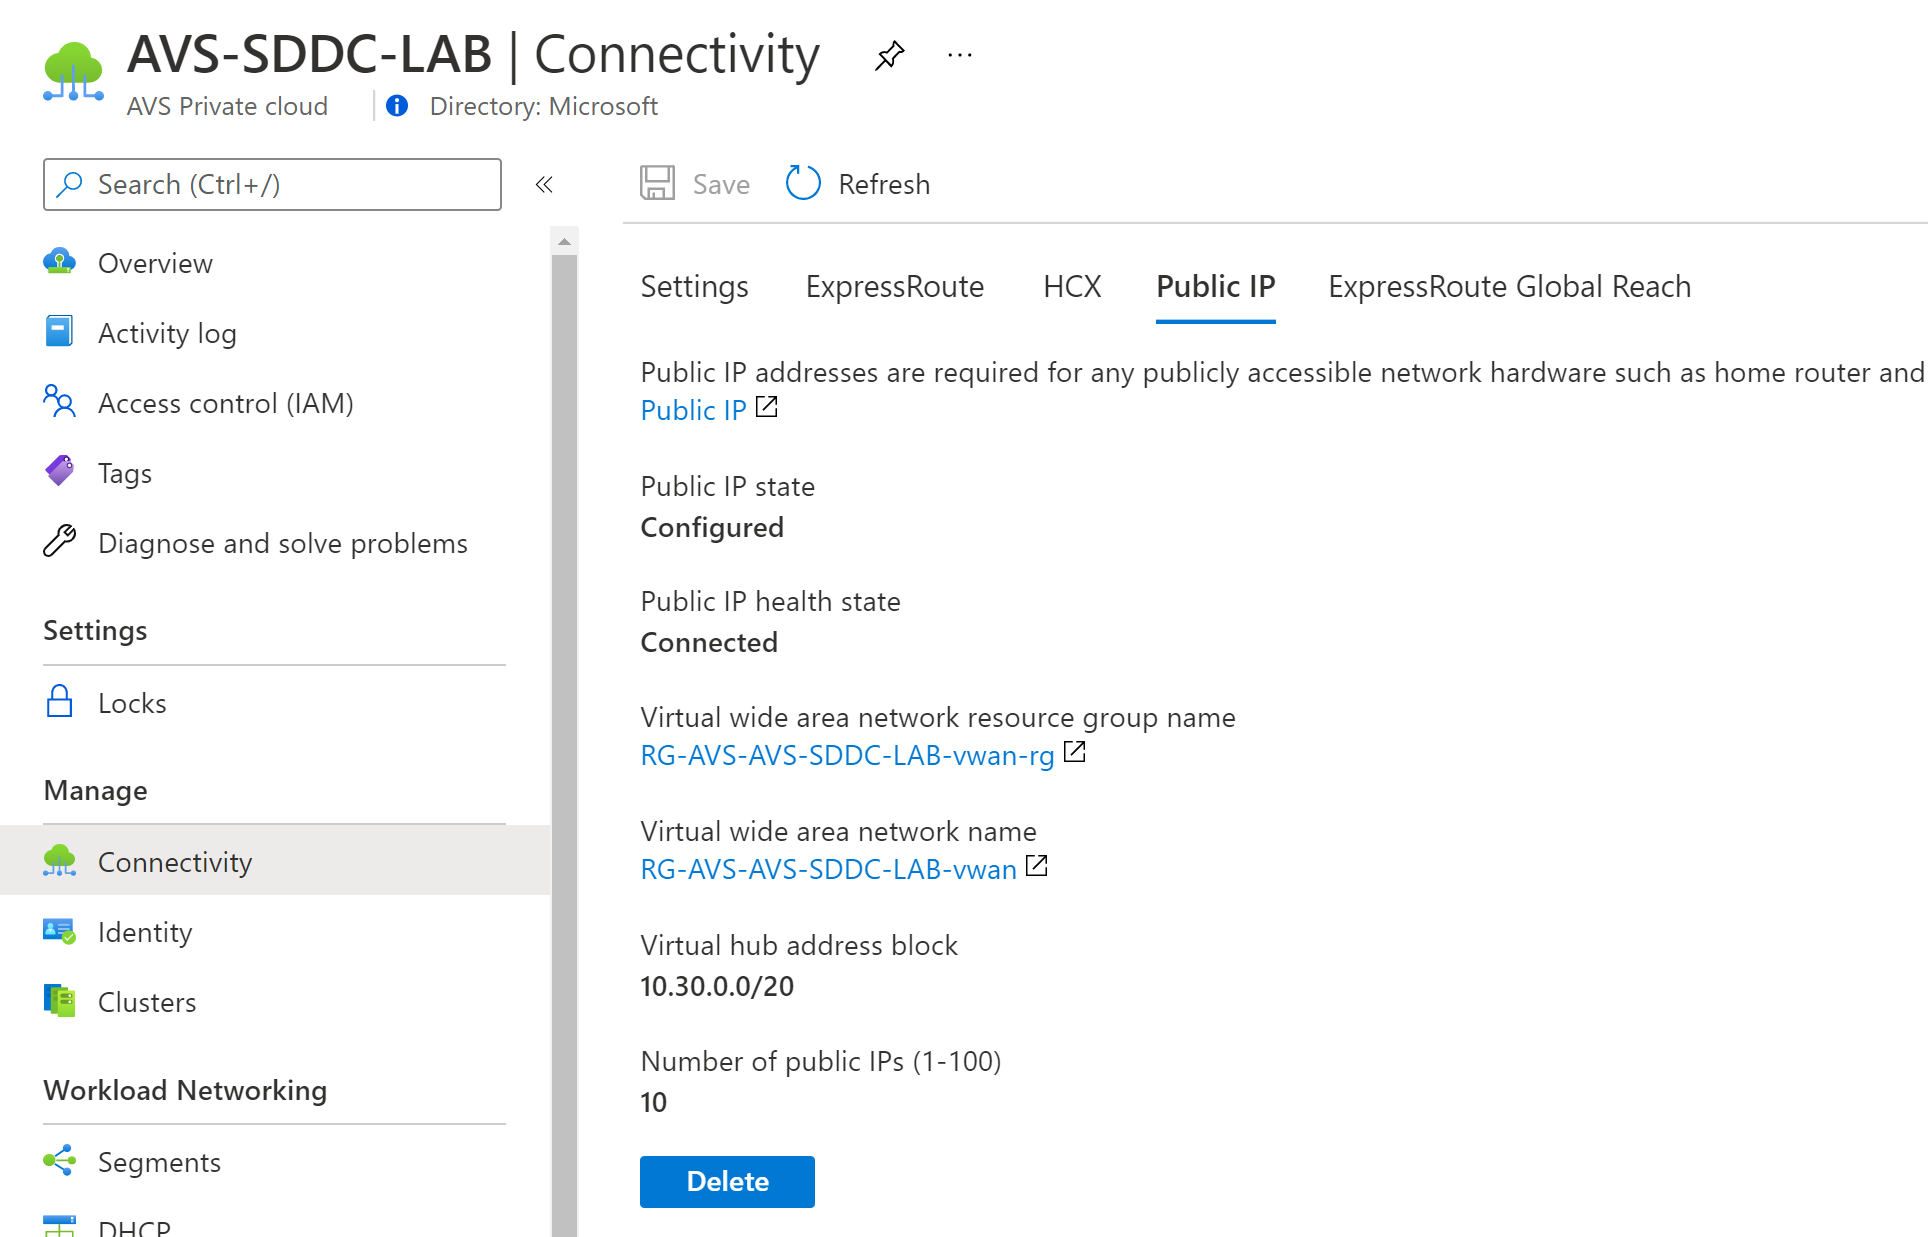
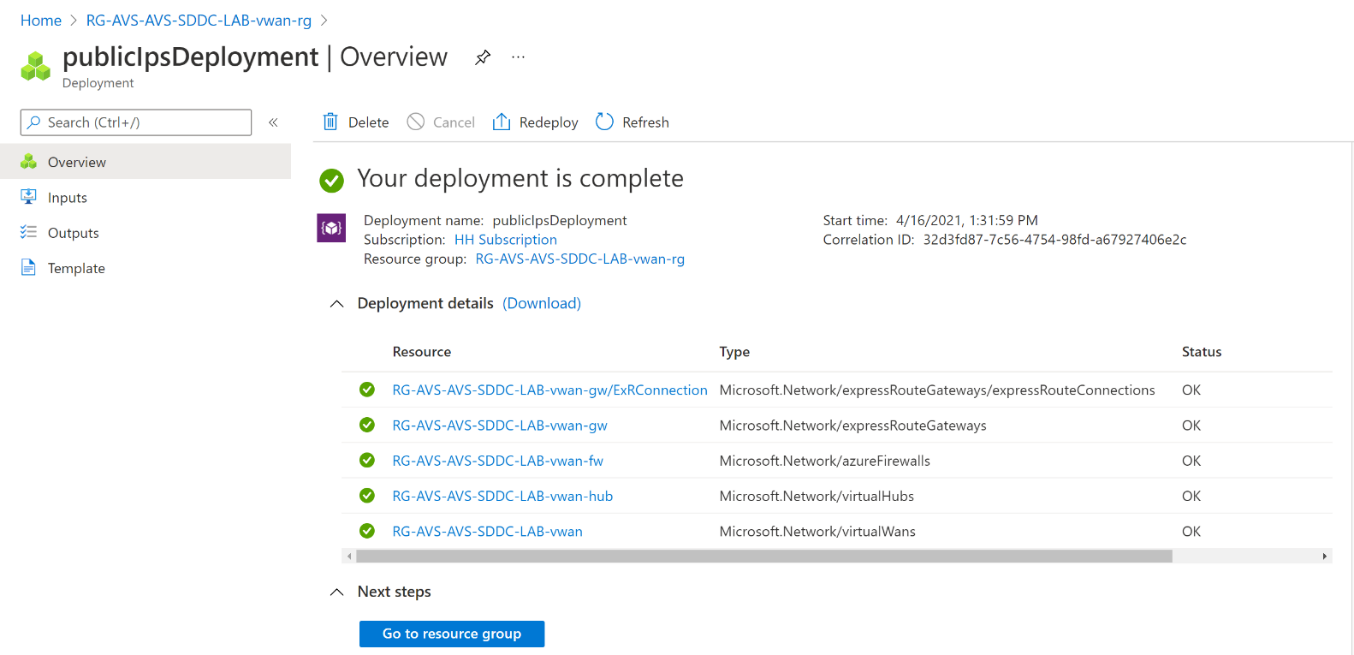
Also, by going to the created Resource Group you’ll notice these resources created, and you can also see the status of the deployment itself and check that it was completed successfully.
